Welcome to Ms O'Sullivan's page.
Alongside the home learning resources which our teachers are sharing with you during this time when many of us are learning at home or working from home, I thought it would be nice if I shared some things too, including ideas for art projects and some stories to listen to.
If you click on the red buttons these will take you to videos which introduce activities or where you can watch and listen. If you hover over, or click on some of the pictures, captions will appear with more instructions.
Even though I am very busy most of the time, I will try and find the time to add new bits quite regularly. Please do take a look from time to time to see if there is anything of interest to you.
This page is to share.......
|
...creative ideas with the children
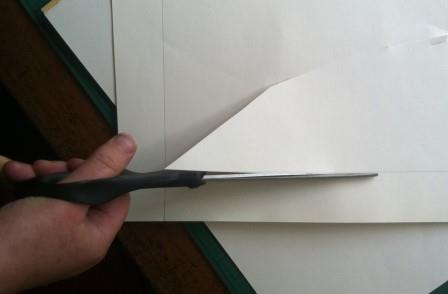
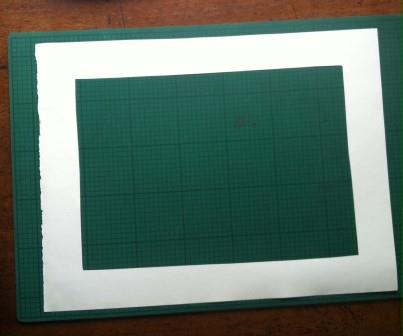
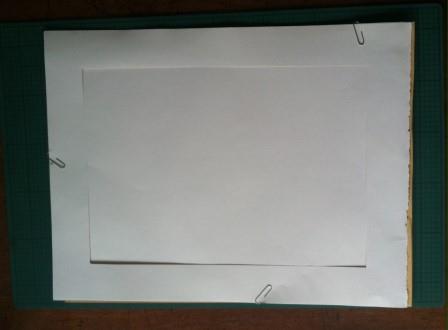
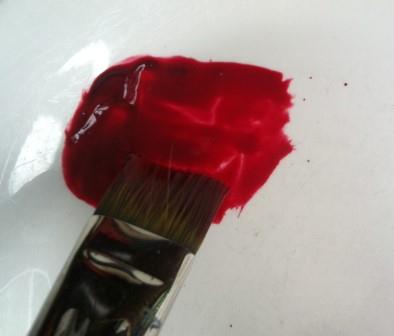
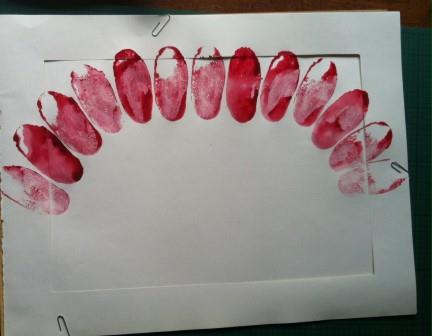
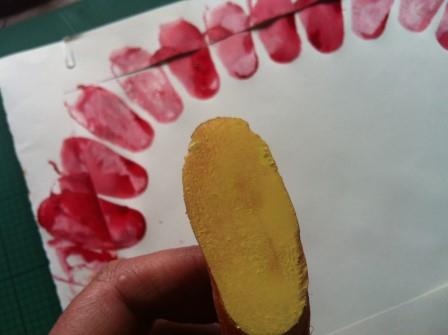
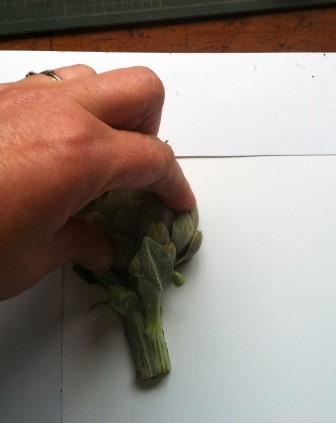
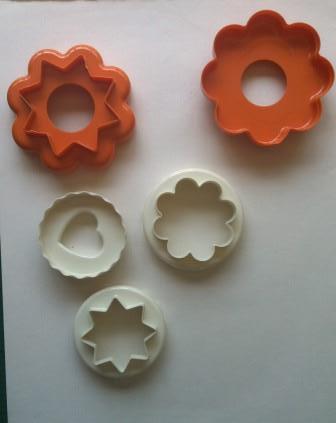
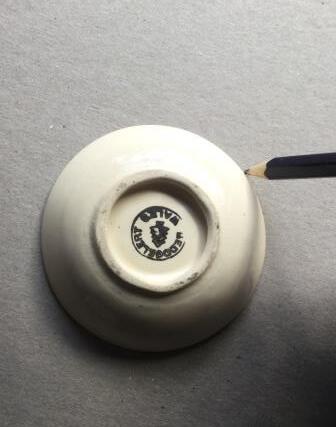
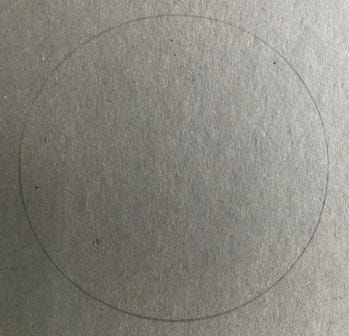
Art from under the Stairs Vegetable Print Artwork If you want your finished print to have a border, you can quickly make a simple frame to print into. You might need a grown-up to help with the cutting.
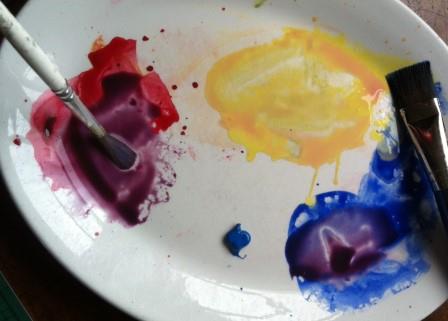
Making a vegetable print rainbow
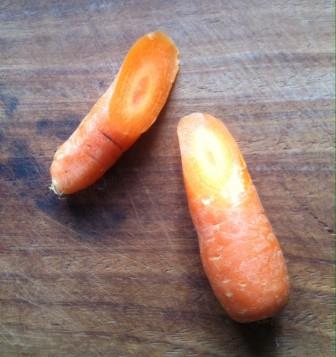
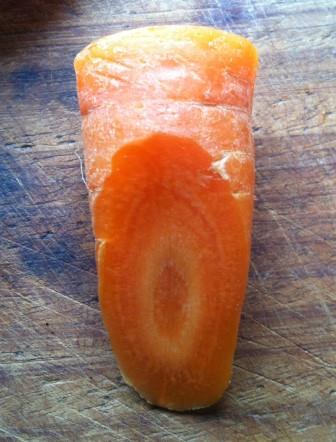
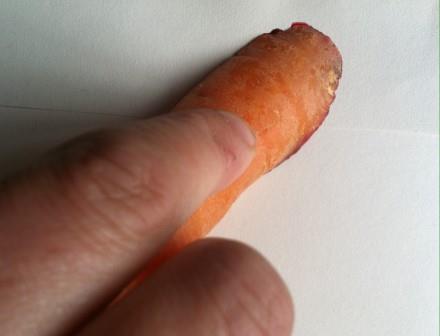
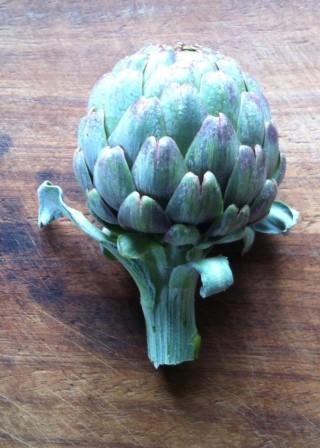
First choose your vegetable. Make sure you ask a grown-up if you can use it - you don't want to use anything needed for dinner!
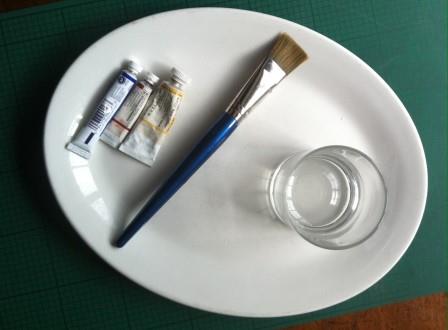
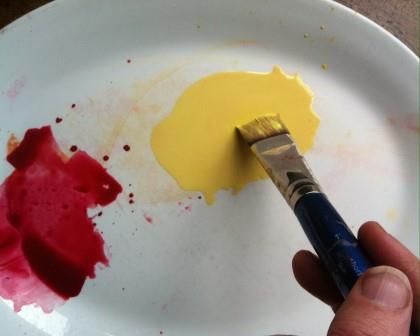
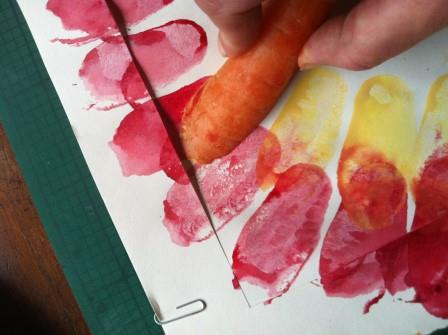
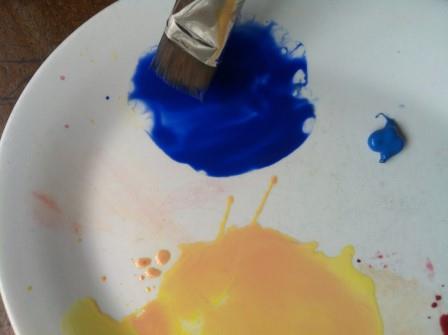
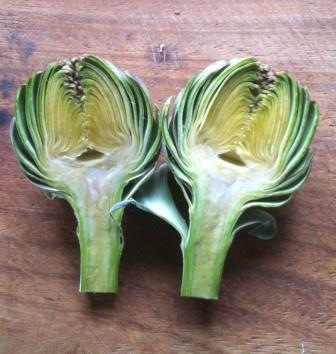
If your vegetable needs chopping with a knife, you must ask a grown-up to help with this! For this print you will also need some paper, an old plate, a paintbrush, a pot of water, some paints in primary colours - red, yellow, blue. Any kind of water-based paint will do. Once your your materials are ready, you can start....
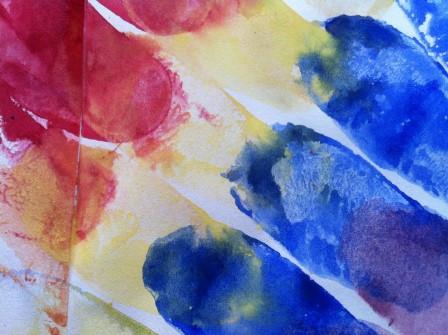
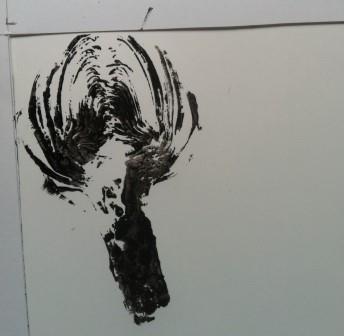
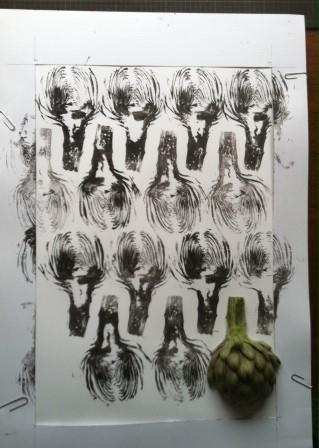
(Hover over the pictures for instructions) Take off the frame and your beautiful rainbow print is ready to put up in the window.
|
...stories with the children
This is an assembly story for you, children. Most of you should recognise the pigeons and the video contains an exciting pigeon 'news' update.
Please click on the video link below for the next exciting update of Pigeon Story
Pigeon Story, by Poppy DownesMr. Evans sat down in his old deck chair, holding a beautiful, grey-bodied bird. It had a head as white as milk and the boy was so amazed.
“Can I hold the pigeon?” asked the boy. “OK, name him and he’s yours,” replied Mr. Evans. “Really? Thank you. I’ll call him King of the Skies” said the boy, as he carefully took the milk white headed bird from his kind friend, Mr Evans. As they were walking, the boy asked Mr. Evans, “Why do you like the pigeons so much?” Mr. Evans replied, “Because they are my friends to stay with all day long, and when they fly they make me smile and they fly so gracefully.” Stories from the Spare Room These first stories are ones I created to use with my class when I first started teaching.
Links to creative ideas and storytelling from other organisations
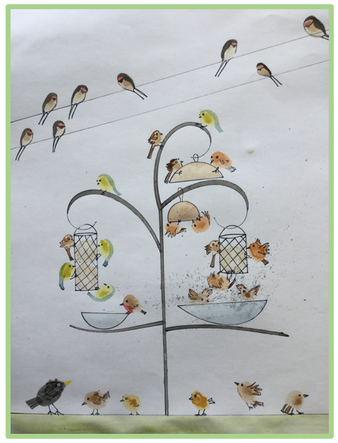
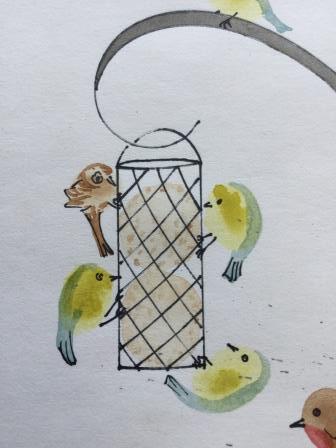
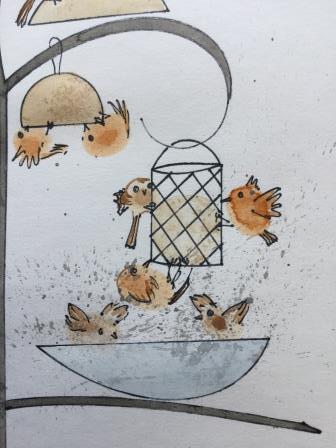
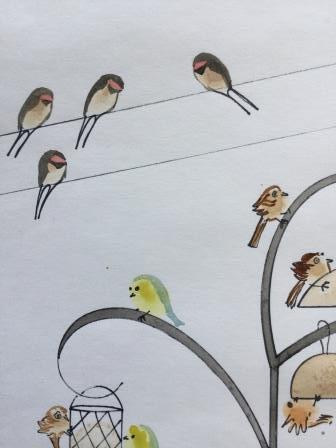
Under lockdown, and with so little pollution from cars, most of us have noticed the number and variety of birds in our gardens or when we are out on walks, and the amount of birdsong in the air. Inspired by this, and by Pigeon story, I thought it would be nice to explore with you, creative ideas on the theme of birds.
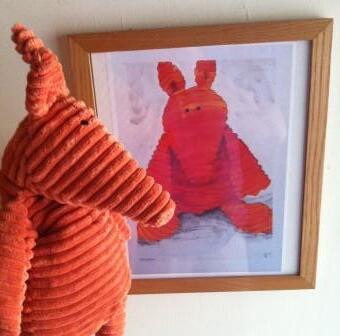
This workshop is dedicated to Holly, because I promised ...
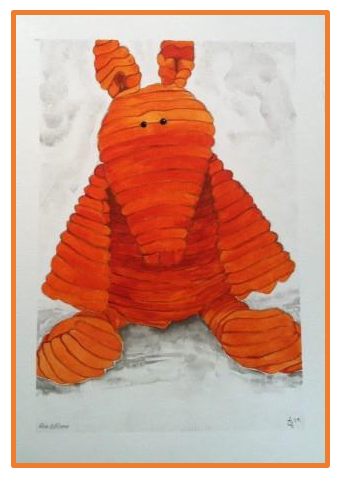
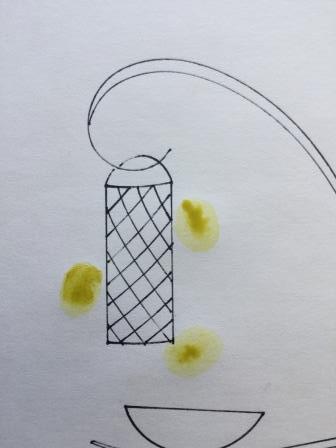
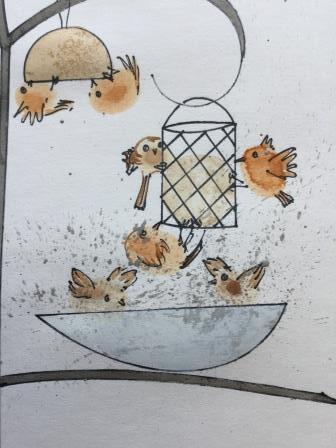
All you need for this workshop: paper, a pen or pencil, water-based paints and your fingers!
Once your picture is finished, you just need to decide on the colour for the border.
This is a workshop that you can make as simple or as complicated as you like. If you make it more complex, do remember the two key mobile rules,
And to watch the video... 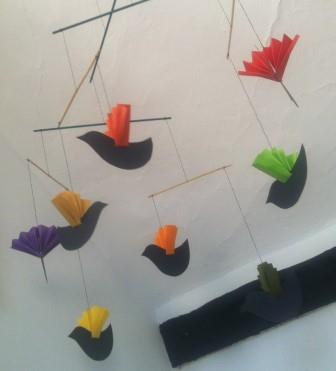
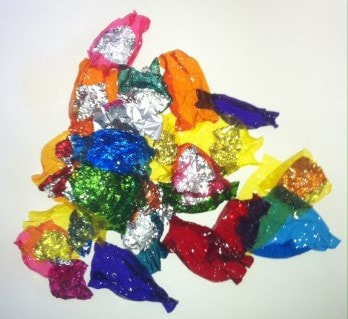
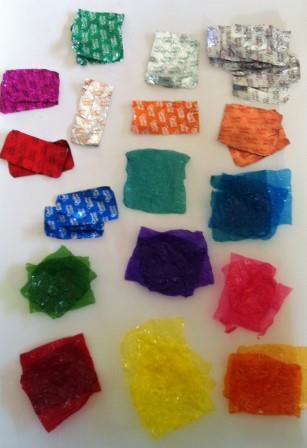
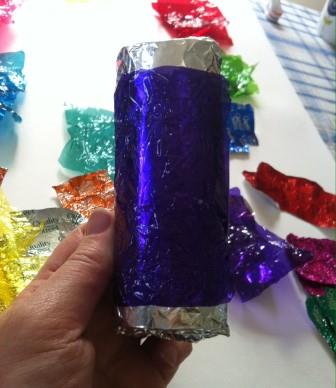
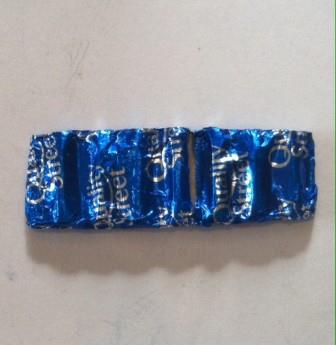
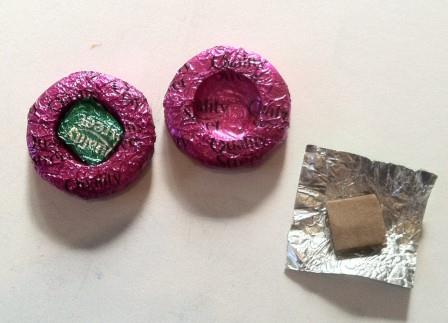
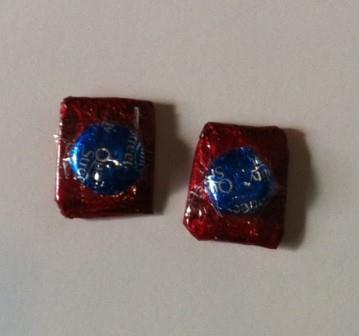
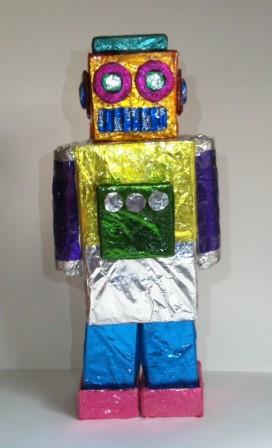
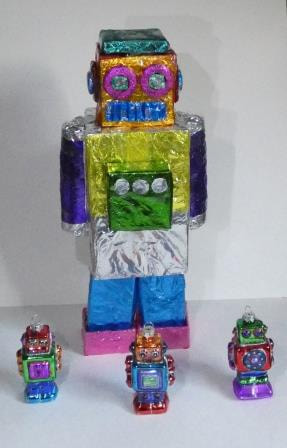
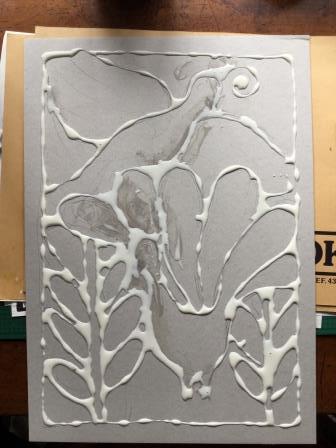
This workshop shares a very simple but effective technique for making beautiful pictures using tinfoil.
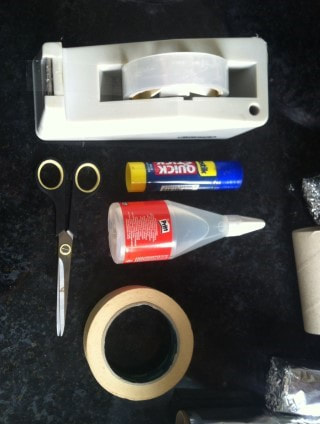
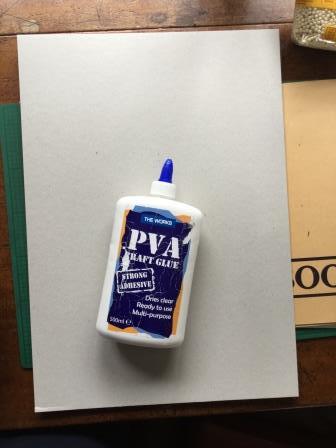
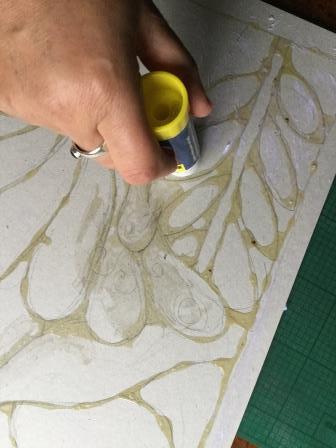
All you need is: card, tinfoil, craft glue, a pencil, shoe polish (and your parents permission to use the shoe polish!) Then you spread a sheet of kitchen foil over the card and press it down using your finger or a cotton bud until the foil is stuck to the card and you can see the raised outline of the craft glue. Then, get a pencil that isn't too sharp and start making marks over the foil, pressing into the cardboard, to add detail to your design.
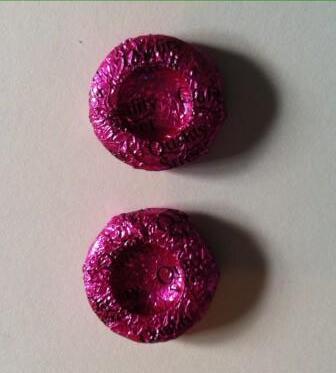
Once you are happy with the picture, you rub some black shoe polish into all the little marks and wipe any spare polish off. 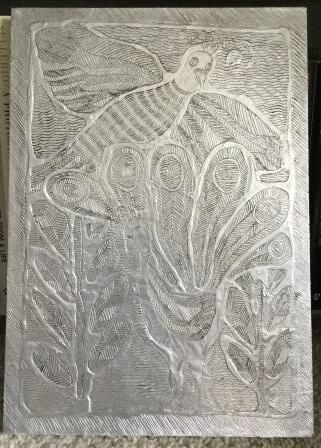
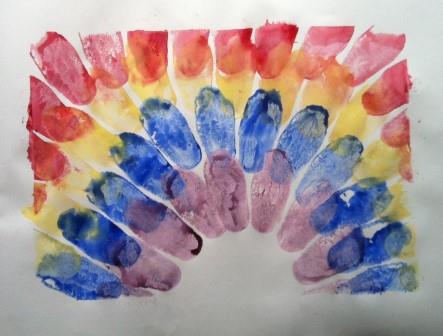
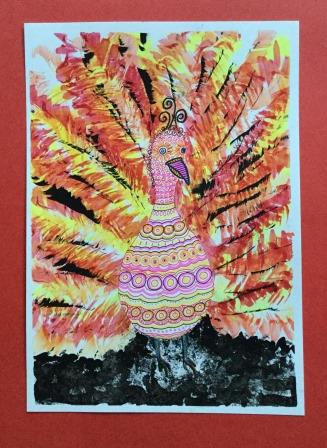
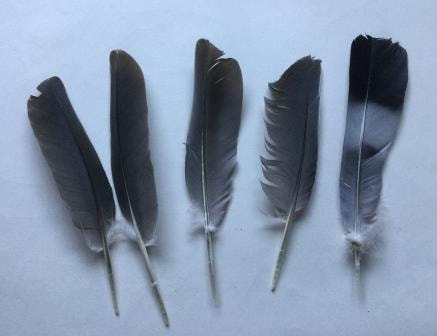
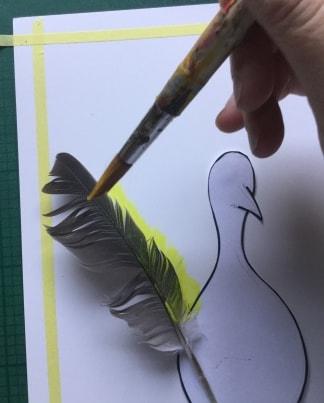
This workshop is dedicated to Charlie - a boy who loves bird feathers and has a collection of all shapes and sizes.
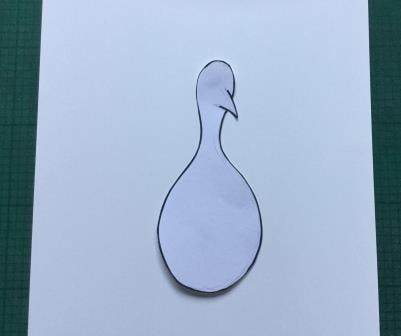
All you need for this workshop is a paintbrush, paints, felt-tip pens or coloured pencils, paper and scissors, and feathers. First, collect some feathers. Then, cut out the shape of a bird's body and secure it to a piece of paper using blu-tack.
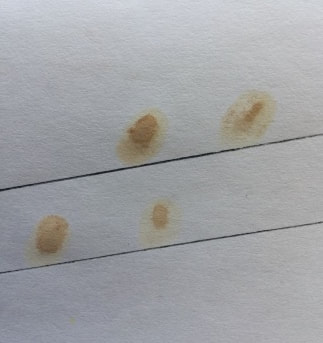
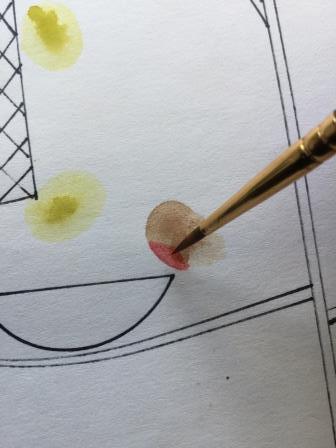
Next,you place a feather on the paper holding it firmly in place with your finger. Using the lightest of your chosen paint colours, carefully paint onto the feather and out onto the paper so you end up with a feather outline.
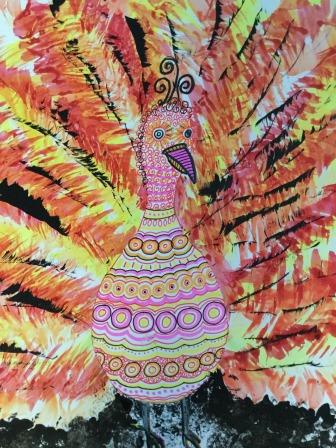
Keep on going, layering on the colours, until you are happy that your tail feathers are finished. Then, take away the paper body shape to reveal the clean paper underneath.
Keep on going until you feel your bird is finished.
This is a very simple workshop. All you need are flower petals or leaves, some freezable containers, some string, some water and a freezer!

|


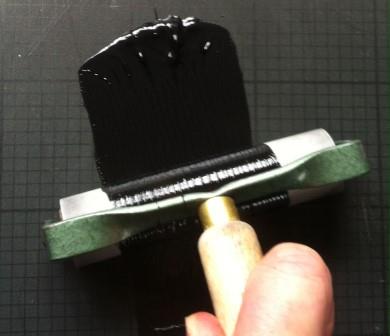


I promised more printing ideas
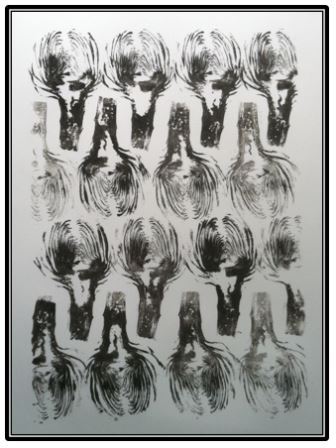
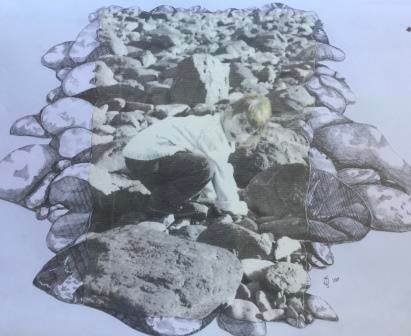
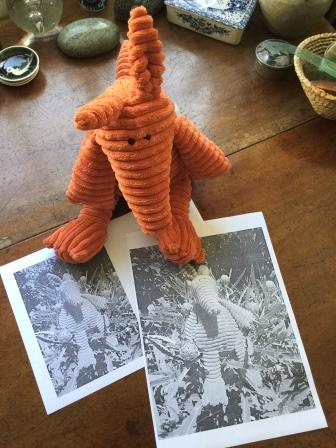
Printmaking is "the art of transferring an impression from one object onto the surface of another - rather than directly painting or drawing a mark". It is definitely one of my favourite art forms, partly because you can never be quite sure how things are going to turn out.
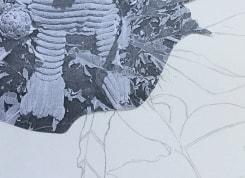
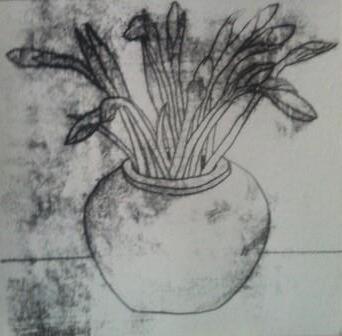
The kind of print we are exploring in this workshop is called a 'monotype drawing' and a lovely thing about these is that each one is unique - there is no other exactly like it.
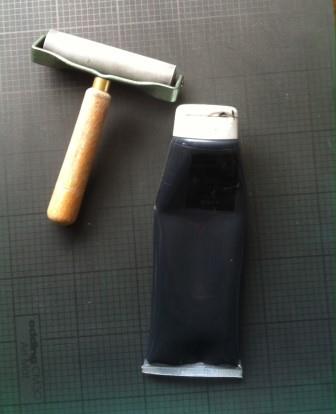
Although printing ink will probably create the clearest image, there is no reason why you can't create a monotype drawing by using paint, if you work quickly before the paint dries!
For this, you will need ink (or paint), a roller (or a brush), some paper and a pencil or biro.

You don't have to use a biro, but it will give a clearer line when you reveal your print and is quite easy to draw with. A pencil can be effective if you want a softer effect.
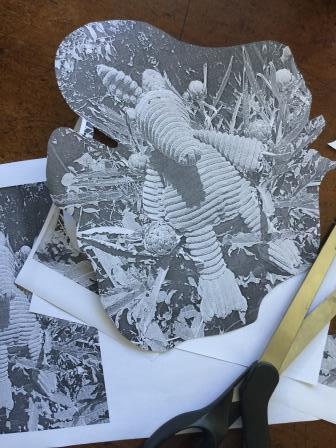
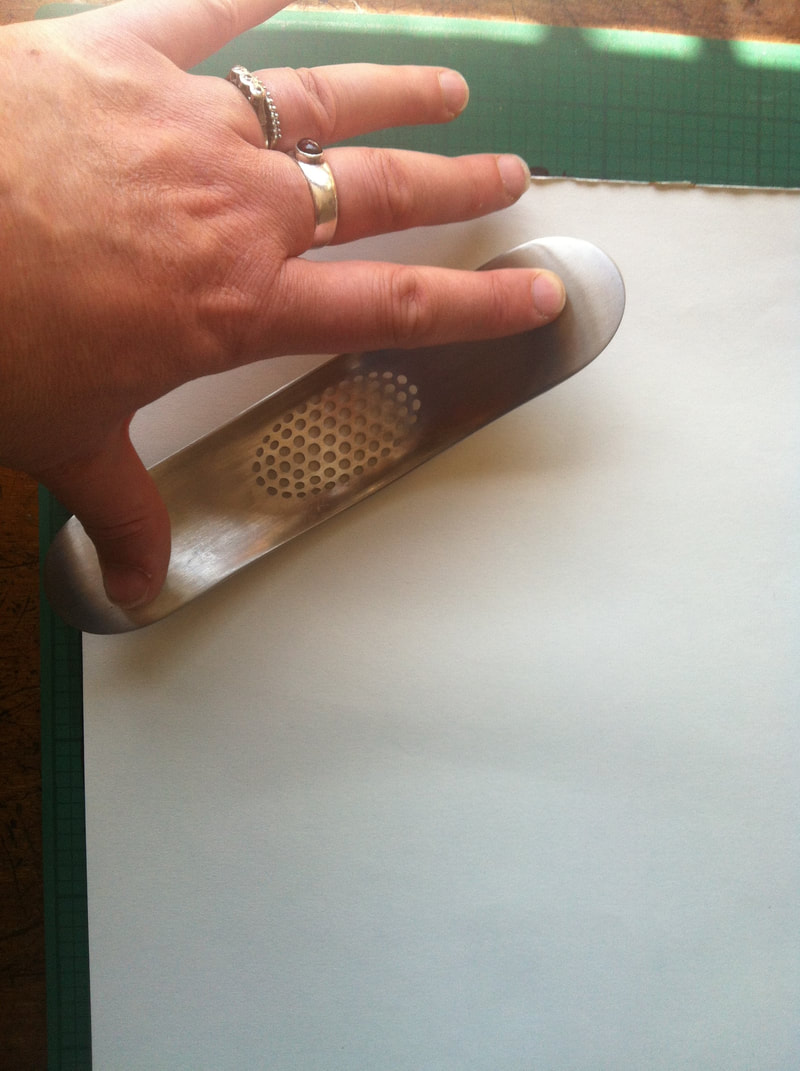
When you peel your paper off of the inked surface, you will find the image on the other side. Don't worry if there are some smudges - these are part of the charm of a monotype drawing.
When you peel your paper off of the inked surface, you will find the image on the other side. Don't worry if there are some smudges - these are part of the charm of a monotype drawing.
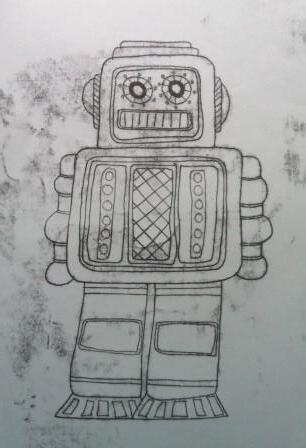
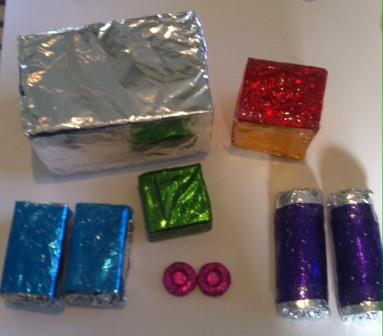
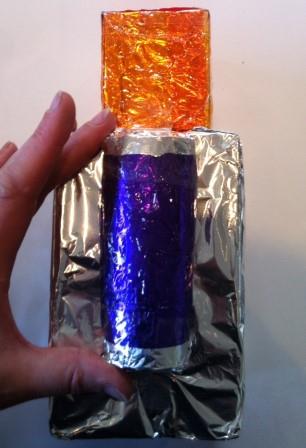
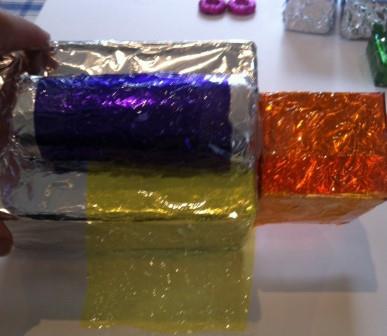
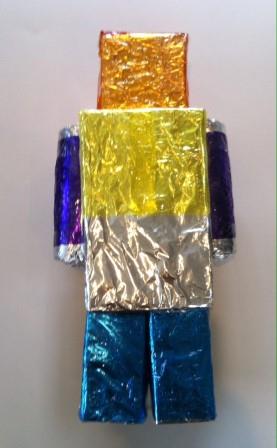
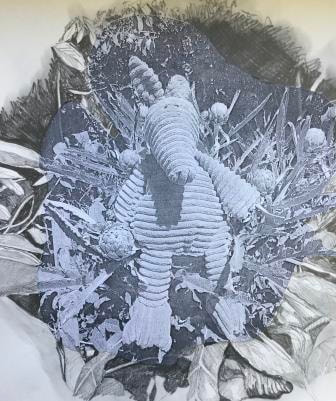
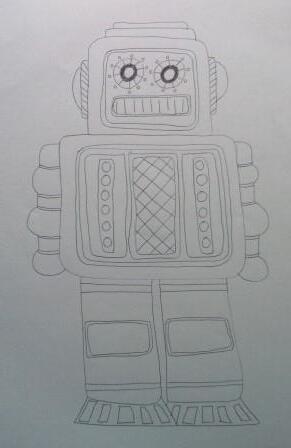
Yes ... it's the robot again!
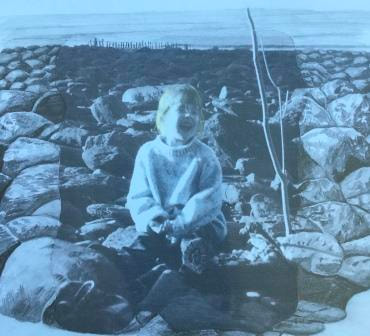
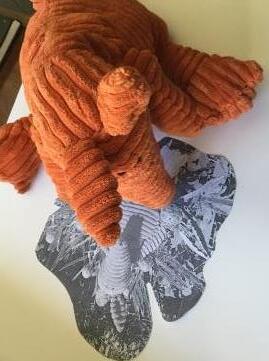
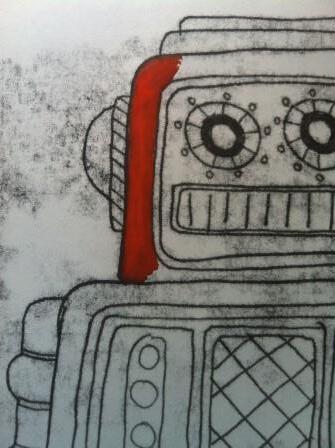
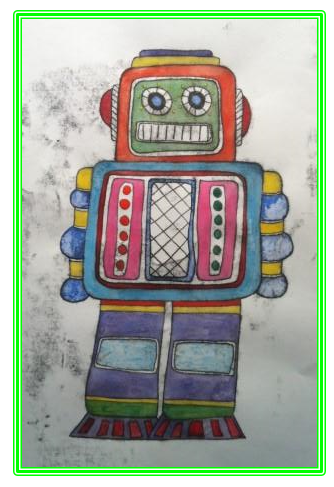
You might be happy with your picture being in black and white - it does look really effective.
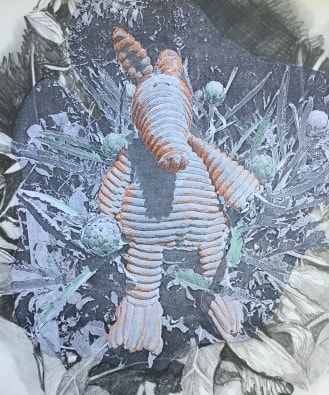
If you want to colour it in though, that could look good too. If you have printed with paint, it is safest to colour it in with pencils or felt tips. If you have used inks, you can then colour it with water-based paint, but do follow the simple tip below to keep your image nice and clear. (Hover over the pictures for instructions)
If you want to colour it in though, that could look good too. If you have printed with paint, it is safest to colour it in with pencils or felt tips. If you have used inks, you can then colour it with water-based paint, but do follow the simple tip below to keep your image nice and clear. (Hover over the pictures for instructions)


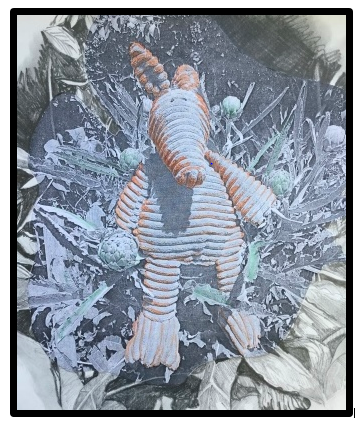
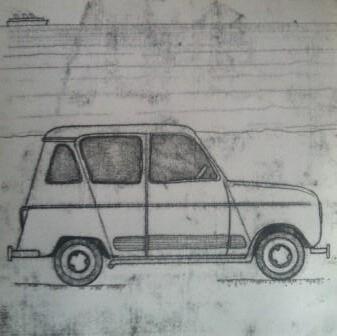
You can make your monotype drawings as simple or as complex as you like. Remember, the more you practise, the better you get.
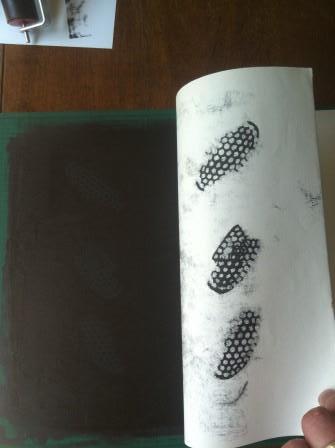
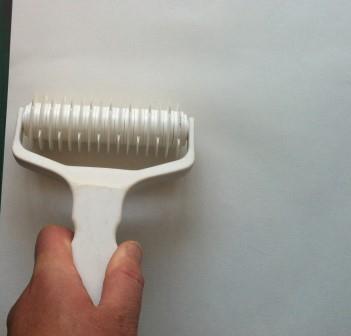
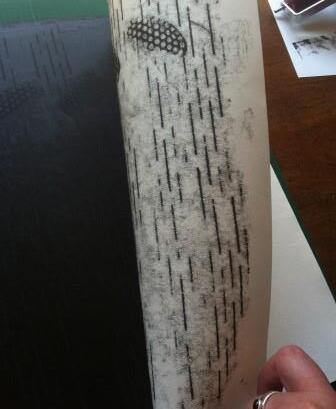
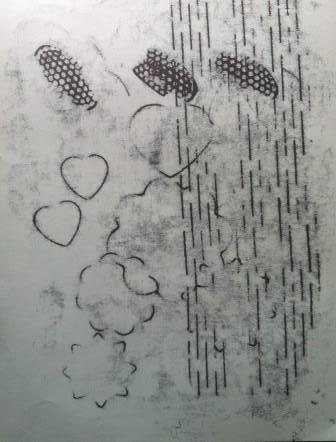
You can also add textures and patterns to your pictures by pressing on your paper with everyday things too.
Why don't you experiment and see what effects you can create?
Why don't you experiment and see what effects you can create?
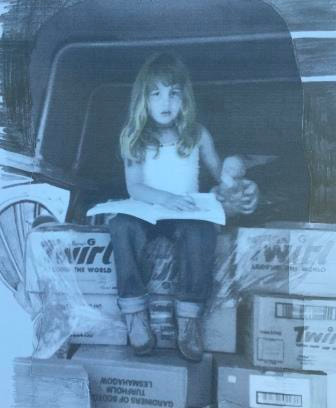
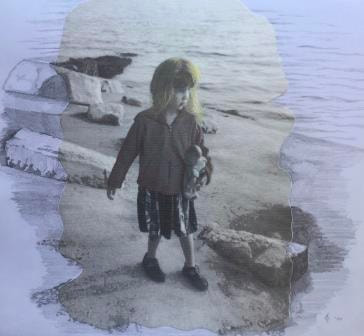
Lockdown 'time capsule'picture
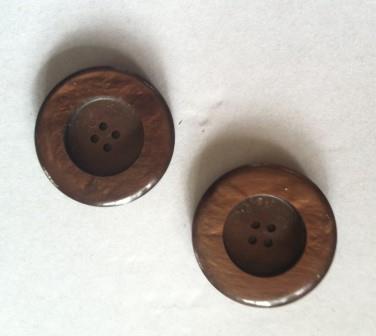
You can make images of anything using monotype drawings. When the lock down first started, I made some images of some of the things that are important to my family and I, and then put them together into a sort of collage of special things we had thought about during this time.

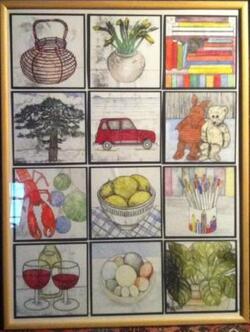
Can you see Rose&bloom?
Perhaps you could think about things that are important to you to make your own 'time capsule'. You could print, draw, take photographs or write a list!
I wonder what you will think of these things in 10 years time, or 50 years time, and whether they will still be important to you?
Perhaps you could think about things that are important to you to make your own 'time capsule'. You could print, draw, take photographs or write a list!
I wonder what you will think of these things in 10 years time, or 50 years time, and whether they will still be important to you?
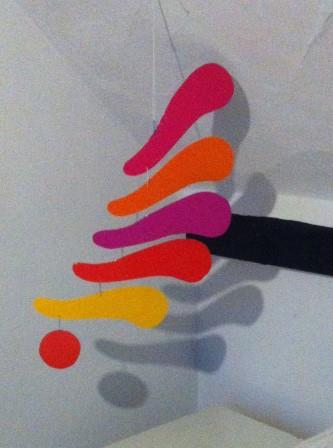
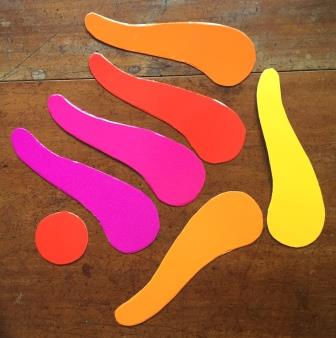
Alexander Calder inspired Mobile Workshop
As I explain in the video, the two key things when you are making a mobile are:
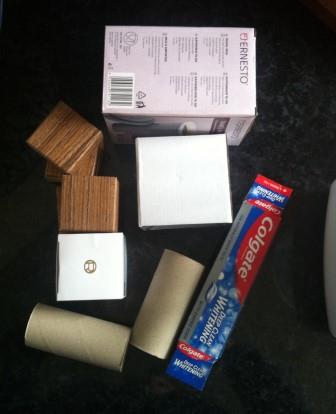
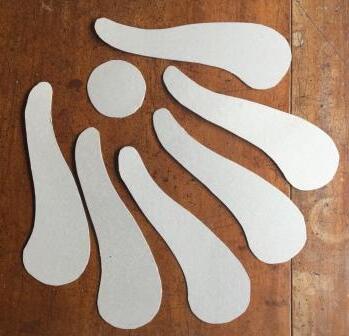
To make the mobile in the video, you will need some strong card (or some thinner pieces stuck together), some coloured paper/paint, some paper clips, a pair of scissors and something sharp like a drawing pin to poke holes through your card. If you are little, make sure you ask a grown-up to help with this bit.
- always work from the bottom up
- make sure you have found the 'balance point' before you attach the next piece
To make the mobile in the video, you will need some strong card (or some thinner pieces stuck together), some coloured paper/paint, some paper clips, a pair of scissors and something sharp like a drawing pin to poke holes through your card. If you are little, make sure you ask a grown-up to help with this bit.


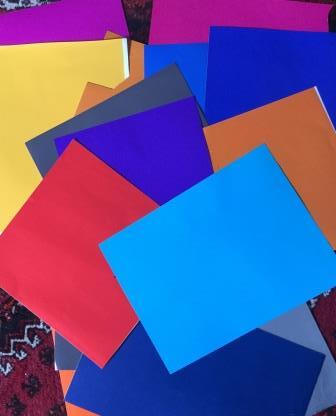
Once your shapes are ready, you can make them bright and colourful. I used sticky back plastic and coloured paper, but you could use paints, felt-tips or pencils - or just leave your pieces of card plain.

Now all your pieces are ready, follow the simple instructions in the video to make them into a mobile.